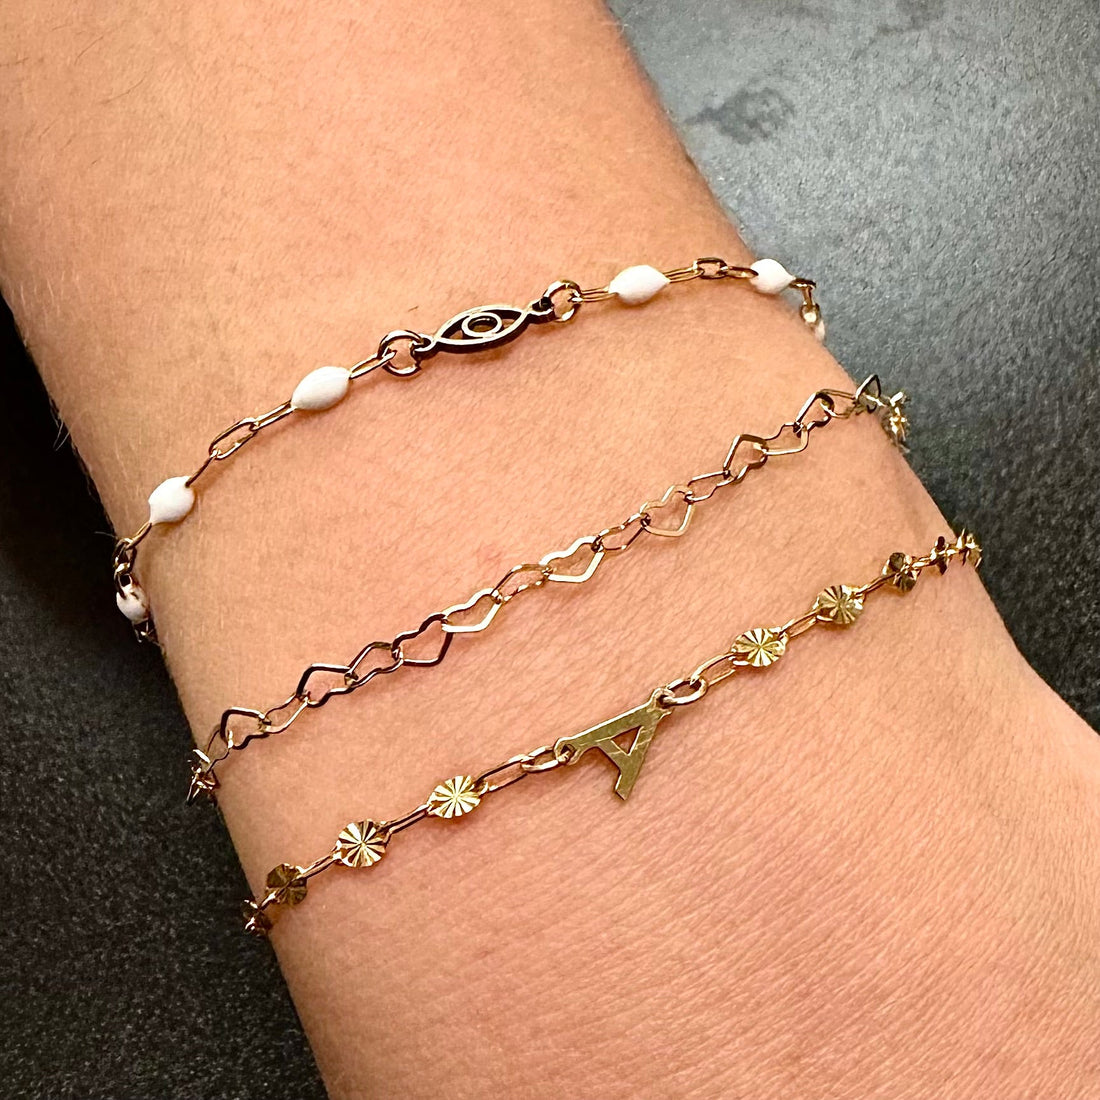
Bracelet Stacks Made Easy: How to Layer Without Overthinking It
There’s something so effortless about a good bracelet stack. It looks stylish, intentional, and put together—without feeling too “done.” But if you’ve ever stared at your jewelry wondering what goes where or how many is “too many,” you’re not alone.
Here’s the good news: stacking bracelets doesn’t need rules. It just needs rhythm.
Let’s make it easy -
Step 1: Start with your “base” piece
This is the bracelet you wear most often.. the one you’d never take off!
It could be:
- A permanent bracelet
- A simple chain
- Your favorite sentimental piece
Your base is the anchor, everything else builds around it!
Step 2: Add texture or variety
To keep your stack from looking flat, mix in different styles:
- Dainty chain + paperclip chain
- Smooth metal + beaded bracelet
- Permanent + removable
- Gold + silver (yes, you can mix metals!)
A little contrast makes the stack look intentional without any effort!
Step 3: Include something personal
This is what makes your stack feel like YOU.
Try adding:
- An initial or birthstone bracelet
- A handmade beaded style
- A meaningful charm
- A memory piece from someone special
Personal pieces make the stack unique instead of just trendy.
Step 4: Balance your stack (lightly—no perfection needed)
Think of your wrist like an outfit.
If one bracelet is bold, let the others be a little softer.
If everything is dainty, add one piece with texture for interest.
Tip: 3–5 bracelets is a sweet spot, but there are no rules. Some people love two, some love seven. Go with what feels comfortable.
Step 5: Mix permanent + ready-to-wear
This is where the magic happens.
Permanent jewelry = your everyday base.
It stays put and always looks good.
Ready-to-wear = your mood changer.
Layer on beaded stacks, seasonal colors, initial or birthstone pieces, or a statement chain to switch things up anytime.
You get the ease of always looking polished—plus the flexibility to style around it.
Step 6: Check the fit
Your bracelets shouldn’t be so tight they dig in, or so loose they flip over each other. A good stack moves with you, not against you.
Permanent bracelets are custom-fit, which is why they layer so well—no twisting, no sliding, just a clean base.
Step 7: Don’t forget comfort and quality
If you’re going to wear your stack every day, materials matter.
That’s why I only use:
- Gold filled, sterling silver, and stainless steel
- Nickel-free, hypoallergenic metals
- Durable chains designed for daily wear
Beautiful + comfortable > trendy but irritating.
Step 8: Let it evolve with you
Your stack doesn’t have to look the same every day.
Swap in new pieces. Add a birthstone for a new baby. Get a permanent bracelet with your best friend. Surprise yourself with something dainty… or something bold.
A stack can tell your story over time.
Need a little inspo? Here are a few of my favorite stack formulas:
Classic + Minimal
Permanent chain + gold filled dainty chain + tiny beaded bracelet
Personal + Pretty
Initial bracelet + birthstone charm + permanent chain
Stack with Texture
Paperclip chain + rope chain + smooth bangle
Soft + Feminine
Pastel beaded bracelet + satellite chain + welded dainty link
There’s no “right” way to stack
If it makes you smile when you look down at your wrist—it’s perfect.
Start with one piece you love and build from there. Mix metals. Add texture. Play with color. Combine permanent and ready-to-wear. Tell your story.
And if you ever need help, I’m always happy to create a custom stack with you in person or online!
